Over time, weather and wear can weaken the mortar between your bricks, leaving your home vulnerable to moisture and structural damage. This expert guide from AX Masonry breaks down everything you need to know about repointing brick, from spotting the warning signs to knowing when to call in the pros.
Repointing involves removing old mortar between bricks and replacing it with new mortar to strengthen and improve appearance. This maintenance helps you avoid costly repairs by preventing water damage that weakens the wall’s structure.
Understanding brick repointing basics benefits homeowners like you by saving time, money, and stress. You might choose to DIY small projects or hire a mason for brick repointing — either way, understanding the process helps ensure you and your home get the best possible treatment.
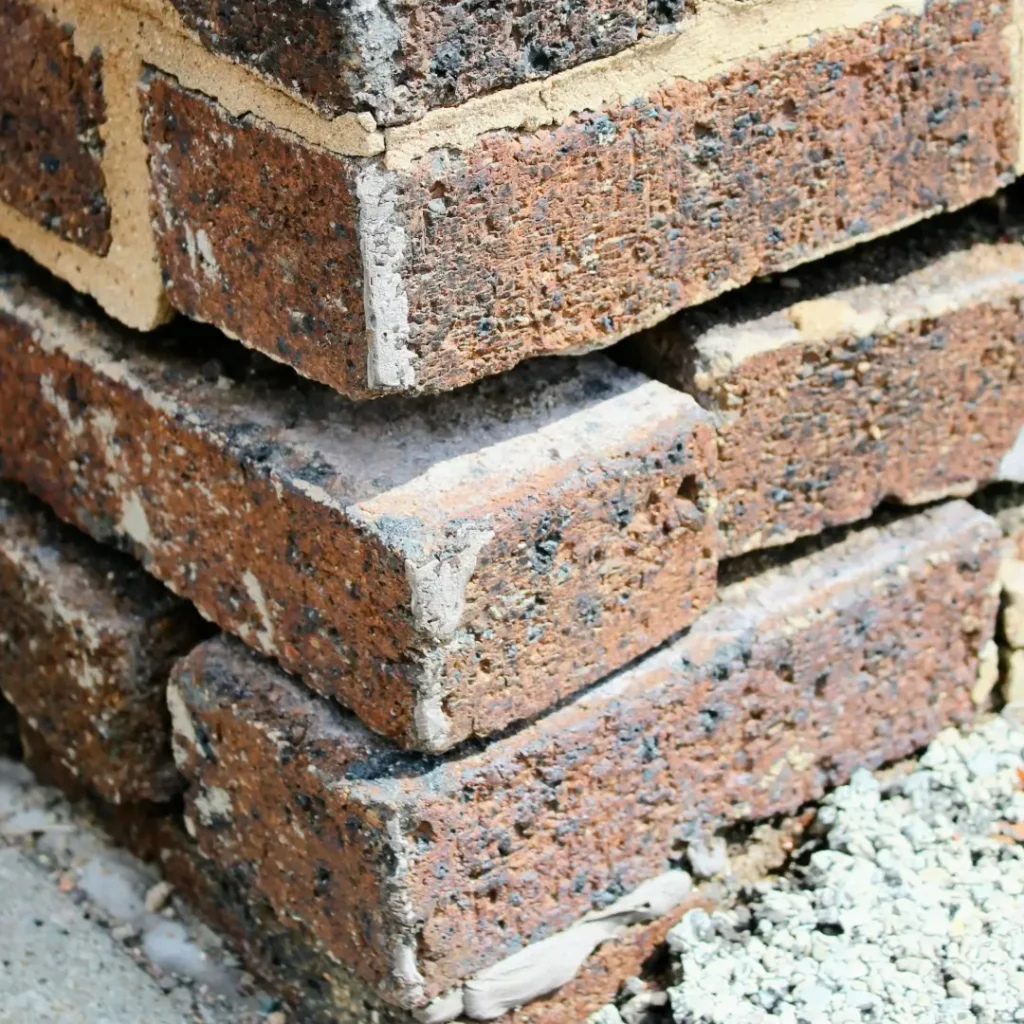
Repointing means taking out old, damaged mortar from the spaces between bricks and putting in fresh mortar. Mortar is a mix of cement, lime, sand, and water. It’s important because it keeps the bricks together to maintain the structural integrity of the wall.
As time goes on, weather, the elements, and freeze/thaw cycles can break down mortar. This leads to cracks, crumbling, and gaps. When this happens, the brickwork loses its durability. Water can get into the wall, which can cause serious damage.
Repointing fixes these problems and makes the wall strong again. Also, having fresh mortar makes the brickwork look better.
By fixing mortar early, homeowners can help protect their investment.
Recognizing signs of mortar damage is important for taking care of repointing.
Watch for these signs:

Check your brickwork yearly for these signs and talk to a professional if you’re noticing serious damage.
Repointing small areas can be a project some homeowners do by themselves, especially if they have some basic construction experience.
However, in some situations, it’s better to call in a professional mason.
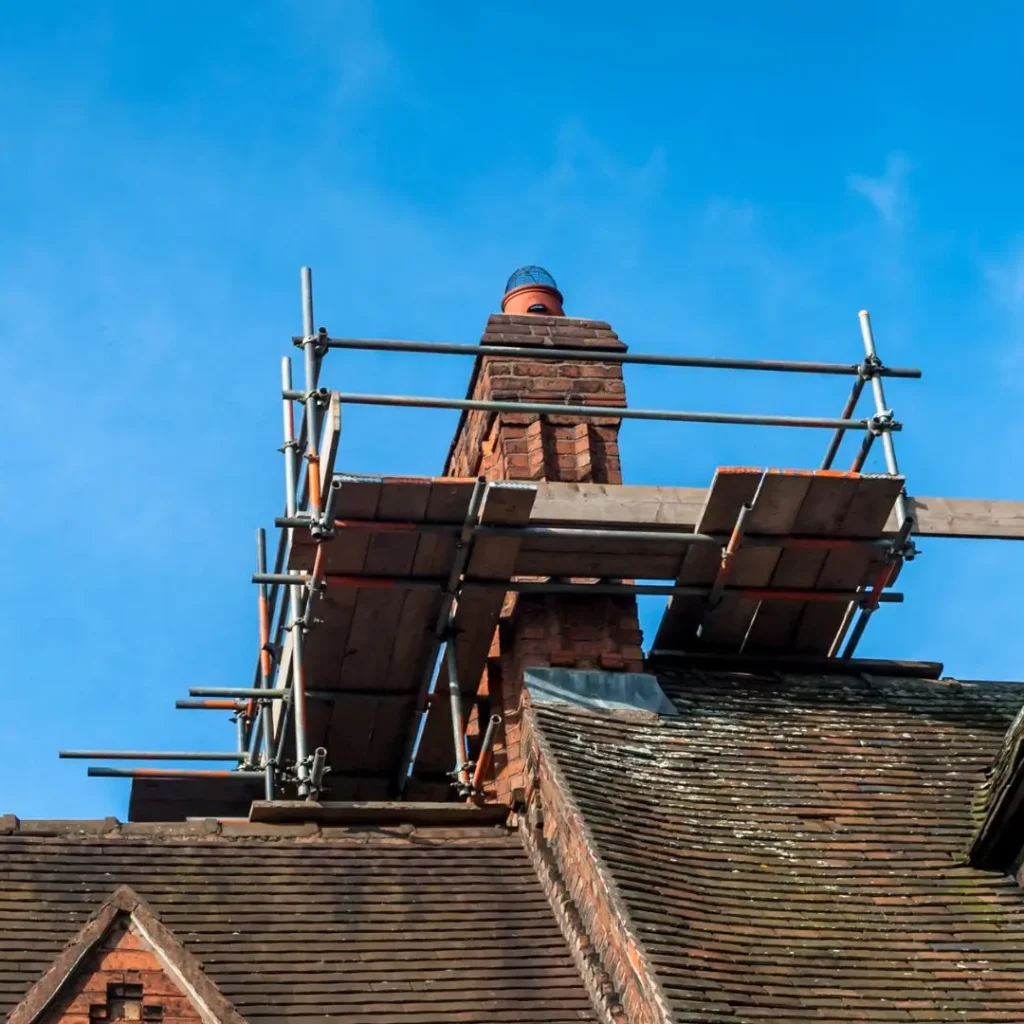
Repointing brick on multi-story homes or chimneys lead to dangerous conditions working up high. In those cases it’s best to call professional masons who have the experience and equipment to perform the work safely.
If you’re in the Dallas, TX area and need brick repointing or other brick repairs, contact us at A&X Masonry in Garland, TX. Just fill out the form on this page and we’ll get back to you as soon as possible to schedule a project consultation.
The cost of repointing brick varies based on factors like project size, accessibility, and labor costs in your area. Homeowners can expect to pay between $4 to $17 per square foot for professional repointing.
For those tackling DIY repointing, the cost drops significantly, since you only have to purchase materials like mortar mix, which averages around $8-10 per 80 pounds.
Here’s a simple breakdown:
| Project Scope | Professional Cost (approx.) | DIY Cost (approx.) |
| 100 sq. ft. | $400 – $2900 | $50 – $80 |
| 200 sq. ft. | $800 – $4800 | $100 – $160 |
Keep in mind that these are estimates, and actual prices may vary. Be sure to obtain multiple quotes from reputable contractors and factor in additional costs like scaffolding rental if needed.
Here are the key items you’ll need for each stage of the job:
Mortar Removal: You will need a brick hammer and a mason’s chisel or plugging chisel to remove the mortar for small areas. If you’re removing the mortar from larger areas, then an angle grinder with a diamond blade makes the job go faster but requires more skill to use without damaging the brick. You can even purchase or rent special angle grinders with tuckpointing guards and attachments for vacuums.
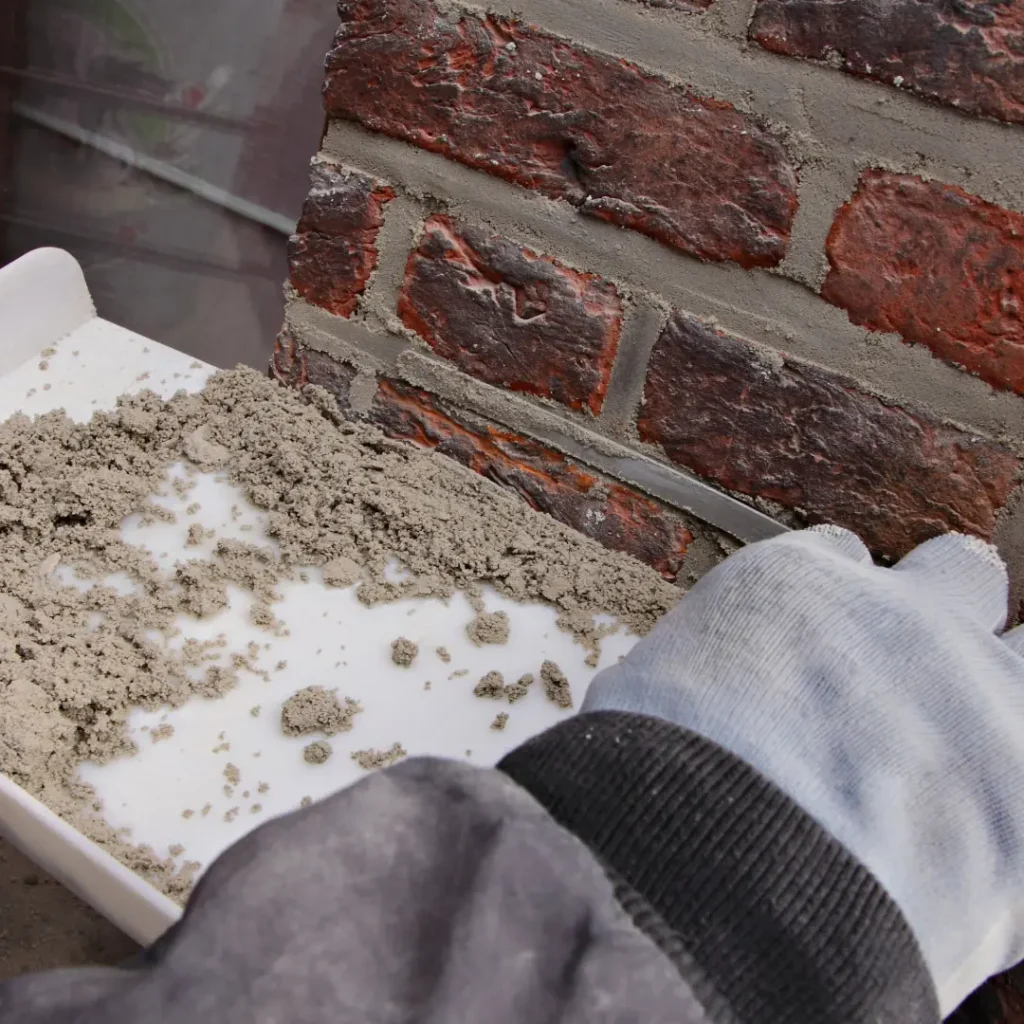
Mortar Preparation and Application: For large projects you can mix mortar in a wheelbarrow or a portable cement mixer. For small projects, you can use a bucket, a mixing paddle, and a powerful corded drill for mixing the mortar.
For handling and applying mortar you’ll need a pointing trowel, a hawk, a mortar board, and a gauging trowel. For getting mortar into the joints, some also prefer to use a pointing gun, which is like a large caulk gun.
Cleaning and Finishing: You should have a brick jointer, wire brush, stiff bristle & soft brush, and a sponge.
In addition to tools, make sure to pick the right type of mortar mix. Choose a mortar that matches the existing mortar in your brickwork.
And don’t forget safety. Use safety glasses, a dust mask, work gloves, knee pads, and scaffolding if needed.
Here are the basic steps to repointing.
Inspect your brickwork for cracked, crumbling, or missing mortar. Clean the surface with a wire brush and remove debris to ensure proper adhesion.
Use a chisel and hammer (or an angle grinder for larger areas) to carefully remove old mortar to a depth of at least ½ inch. Be gentle to avoid damaging bricks.

Brush out loose dust and debris, then lightly mist the joints with water. This prevents the bricks from absorbing moisture too quickly from the new mortar.
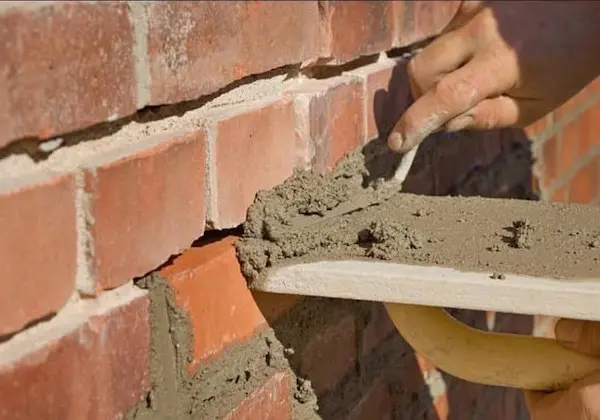
Prepare a mortar mix with the right consistency—thick but workable. Use a pointing trowel to press mortar firmly into the joints, filling them completely.
Allow the mortar to rest for about 30-60 minutes. When it’s firm but slightly soft, it’s ready for finishing.
Shape the joints with a striking tool (also called brick jointer) or trowel for a clean, uniform look. Brush off excess mortar and let it cure properly for a durable, weather-resistant finish.
Using the Wrong Mortar Mix – Mismatched mortar can weaken your brickwork. Older homes often require lime-based mortar, while newer ones use cement-based mixes.
Incorrect Mortar Consistency – A mix that’s too wet won’t bond properly, while one that’s too dry is hard to work with and prone to cracking.
Not Removing Enough Old Mortar – Failing to clear at least ½ inch of old mortar can prevent the new mix from bonding securely.
Skipping Joint Cleaning – Dust and debris left in the joints can create weak spots, leading to premature failure.
Not Damping the Joints – Dry bricks absorb moisture from fresh mortar too quickly, causing improper curing and a weaker bond.
Rushing the Curing Process – Mortar needs time to set properly. Protect fresh joints from rain, direct sun, and freezing temperatures during curing.
Messy or Uneven Joints – Failing to properly strike joints can leave a rough finish, weaken the bond, and reduce water resistance.
Ignoring Color Matching – Using mortar that doesn’t match the existing color can leave a patchy, inconsistent look.
Repointing is essential for maintaining the strength and appearance of your brickwork, preventing moisture damage, and extending its lifespan. Whether tackling a small repair or a larger project, using the right materials and techniques ensures lasting results.
While DIY is possible for minor jobs, professional expertise is key for complex or historic masonry.
If your brickwork needs repointing and you’re in the Dallas, TX area, trust the experts at A&X Masonry for quality craftsmanship and reliable service. Contact us today for a consultation and keep your home’s brickwork in top shape for years to come!
No, repointing in wet weather weakens the mortar and prevents proper bonding. For best results, choose dry, mild conditions.
Match your existing mortar. Older homes (pre-1930s) typically use lime-based mortar, while newer homes use cement-based mixes. When in doubt, consult a masonry expert.
Repointing repairs brick joints, prevents moisture damage, and strengthens the structure, extending the life of your brickwork.
Most brickwork needs repointing every 20-30 years, depending on weather exposure and mortar quality.
DIY repointing is possible for small areas, but we recommend professional masonry for large or historic projects.