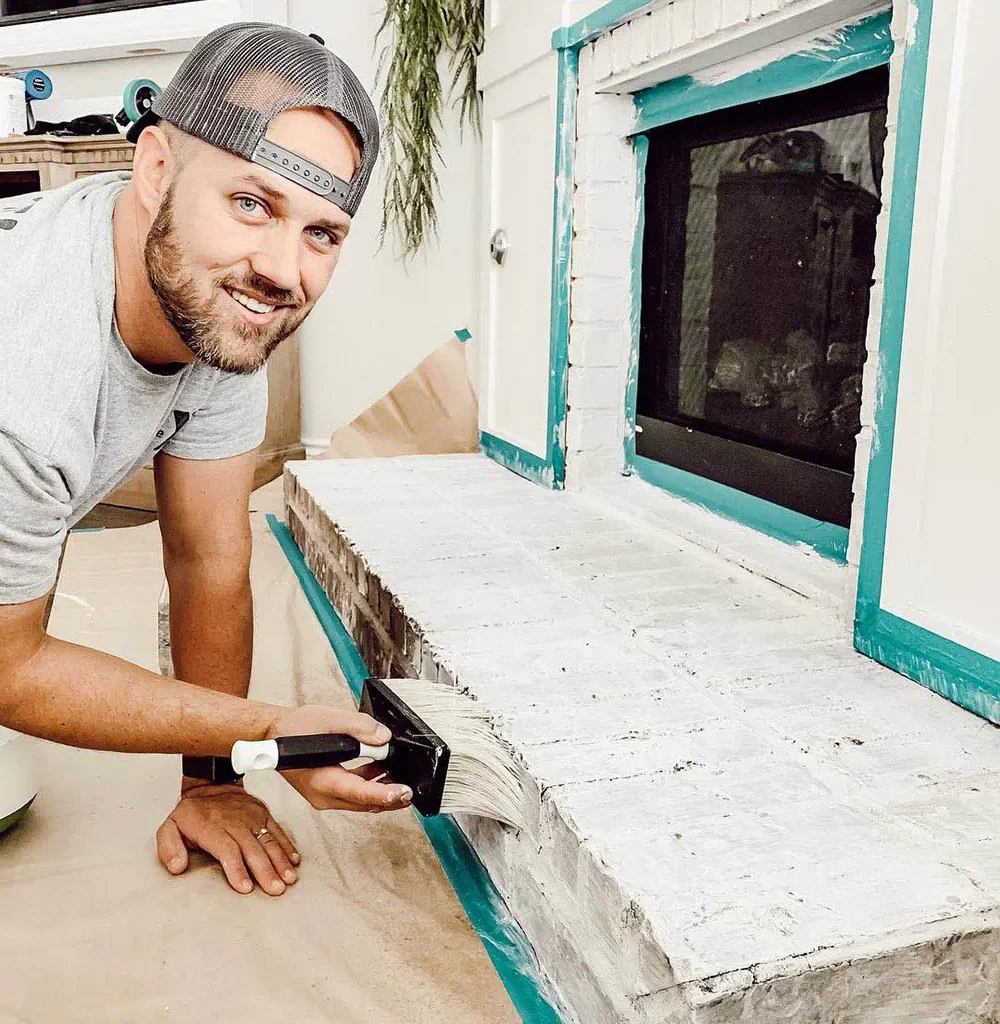
Limewash Your Brick House: Secrets From the Pros Who Know
Update your brick exterior with an old-world classic without the old-world mistakes.
Brick homes are definitely built to last. But sooner or later updates are inevitable. So if you’ve recently bought a brick home or have been staring at the same brick for years and are ready for a change — lime washing your brick house may be the answer. What could go wrong?
Why limewash a brick house?
Limewash is considered a paint. However, instead of being made from binders, resins, and polymers, the ingredient list is quite short. In a nutshell, it’s simply limestone and water. For a more detailed description of the process read our article “The Complete Guide To Limewash”.
Because of its mineral composition, limewash is ideal for brick homes. Limewash allows the brick to breathe as it normally would. It also naturally has anti-bacterial and anti-fungal properties.
This classic mineral-based paint is very versatile and looks fantastic on virtually any type of architecture. It will set your brick ranch apart from the rest in your development. It also can add dimension to Tudor style homes, plantation styles and more.


Is lime washing a brick home expensive?
The average price of a gallon of limewash will cost you between $50-$80 (at the time of writing). Limewash paint is usually mixed with additional water so a gallon of limewash may go further than a gallon of regular paint depending on your end goal.
Homemade limewash is cheaper but, combining the raw materials will definitely be more time-consuming for you than buying a product that is ready to go.
Plus, if you’re interested in any other shade other than white/white-gray, buying pigments and mixing them yourself can be just as pricey, not to mention tricky when it comes to consistency.
How opaque you want the coverage to be is a big determining factor when it comes to calculating the amount of limewash you’ll need. Each limewash paint will come with recommendations of paint-to-water ratios to achieve a certain look.
Watch out though! A common DIY complaint is that their project required more limewash than they expected which meant they had to spend more money to get the look they wanted.
Sometimes What You Really Want Is German Smear
Limewash and German smear are not the same thing. German smear is not a paint, it’s mortar that is used to create texture and color variations on brick and stone. German smear is permanent.

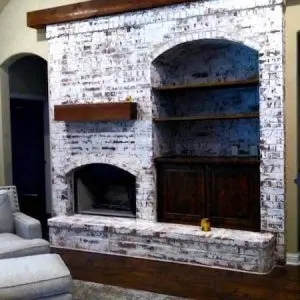
Notice the thick consistency of this German smear from Nesting Gypsy vs the thinner paint consistency of this limewash project featured on Home Depot’s website.
A simple way to compare the two is to think in terms of cakes and doughnuts. German smear is like the thick cake icing used in cake decorating whereas limewash is more like the thin almost translucent glaze on your morning doughnut. For more details about the German smear technique read our article: German Smear on Brick.
At AX Masonry we’re German smear experts. We’ve refreshed many fireplaces, homes, and hardscapes with this popular old world technique. Visit our Gallery to see many extraordinary transformations like the one below.

Call today to discuss your options and get a free estimate on your project. Our work is guaranteed to make you happy.
What About Whitewash?
You can achieve a very similar look with whitewash as you can with limewash. But…whitewash is achieved by using watered-down latex paint.
While latex paint is cheaper, it’s prone to peeling and bubbling because of its chemical composition. Also, it doesn’t allow the brickwork to breathe, making it more work for you to maintain in the long run.
How To Limewash Your Brick House?
To limewash your brick house, you’ll need to take several steps similar to those you would if you used regular paint. You need to prep the surface, protect what you don’t want to paint and mix and apply the right amount of coats.
Materials Needed
The basic materials that you’ll need for your limewash project are the following:
- Safety glasses, mask, and gloves
- Power washer and products to remove any mold or mildew
- Limewash paint
- Block paint brush or masonry paint brush
- Painters Tape
- Drop cloths/cardboard
- Rags/sponges
- Additional buckets for water and paint mixing
- Garden hose long enough to reach every inch of what you’ll paint
In addition to a paintbrush, you can apply limewash with a roller (½ in.-1 1/2in. nap) or a professional paint sprayer to speed things up. We don’t recommend smaller handheld paint sprayers because the nozzles are usually too small to accommodate the thicker texture of limewash.
Even if you use these additional application methods you’ll still likely need a brush to back brush the paint into certain places like the mortar joints.
Products
We’ve composed a list of top products based on consumer reviews. These companies excel when it comes to quality and consistency. Plus, many have extensive color pallets for virtually any project and style preference:
- Bauwerk Lime Paint
- Pure and Original Fresco Lime Paint
- Romabio Classic Limewash
- Sydney Harbour Limewash
- Domingue Architectural Finishes Limewash
Most of these retailers sell directly to you online but, some will tell you where you can buy their product locally.
If you’d like to try making your own, it’s a lot cheaper. Many local hardware stores carry hydrated lime which is the basis for limewash.
Keep in mind that hydrated lime has many applications from agricultural uses to construction. Companies are not required to finely grind the hydrated lime and many do not. Any hydrated lime you purchase you’ll need to sift before you can use it to mix paint.
Once you’ve sifted the lime and removed any lumps, you can add the appropriate amount of water based on the opacity you wish to achieve. More water (depending on the paint manufacturer, up to a 10% dilution) means a runnier more translucent finish whereas less water will achieve a more solid color look. On average limewash should have the consistency of whole milk.
If you’re going to add additional pigments make sure you consistently measure the amount of limewash, pigment and water each time you mix a new batch. Otherwise, you’ll end up with undesirable color variations. Weighing the amount of each product will give you the most accurate results.
Additional Additives and Products
One optional additive is alum salt which can help it dry slower. Traditionally though, alum salt was used in limewashes that also attempted to incorporate tallow or milk solids to improve rain-fastness. So unless you’re using an old tyme recipe which includes adding tallow, oil, or milk solids, you can probably skip the salt.
In some cases, like areas that are very damp or humid, or prone to extreme temperatures, you’ll definitely want to consider a sealer for your project. This will give you an added layer of protection from the elements and mildew staining, buying you more time between touch-ups..
Another situation that often requires extra care is historic bricks. If your home has historic brick, we don’t recommend power washing them yourself. If you use too much pressure you can damage your brickwork. Often the bricks need to be sealed even before you can paint, because of being notoriously fragile and crumbling easily.
At AX Masonry we’re brick experts and we can quickly identify cracks or repairs that you’ll need to address before applying a German smear or limewash finish.
How To Prep the House
You must thoroughly clean any brick or stonework before painting. Usually, a good pressure wash will do the trick for brickwork. Just keep in mind that pressure washing can damage brickwork if not done correctly (too much pressure, wrong nozzle, holding the nozzle too close to the house, etc.) If you’re unsure of yourself, it’s best to hire a pro.
Sometimes you’ll have to use additional mold and mildew removers if power washing alone doesn’t remove it all. If you don’t take the time to remove all of the mildew, it can bleed through the paint and will ruin the final finish.
While limewash does have antifungal properties, it’s not strong enough to completely kill an established mold or mildew colony. It can help prevent future outbreaks though.
Once clean, it’s best to dampen your brick or stone before applying limewash which helps it to dry more slowly and absorb more evenly. So don’t forget to have your hose at the ready.
Mixing
As discussed previously, you’ll have to mix your limewash with water. If you purchase a ready-made limewash, it will come with instructions on possible ratios of water to paint. You’ll need to decide how opaque or translucent you want the finish to be and then mix accordingly.
If you want to make your own limewash then here is a simple and straightforward guideline of lime to water from the National Limewash Association:
- 15-20% lime
- 80-85% water
These ratios of lime to water will produce a limewash with the consistency of whole milk. Once you’ve mixed a batch of homemade limewash, it’s best to let it sit anywhere from 12 to 24 hours before applying it. You’re allowing any air bubbles to escape and the lime to fully absorb the water, improving the application consistency.
Application
You should apply limewash with a block brush in random strokes. However, for large jobs like the exterior of a home, professional paint sprayers will save you a lot of time.

At Philip or Flop check out how one individual achieved the results they wanted with a sprayer.
As mentioned earlier even with a sprayer or a roller, some brushing is inevitable. You can then use sponges to wipe off paint in certain places to give it more rustic charm.
Cut in as you go and watch for drips so you can correct them immediately. If you’ll be applying multiple coats (you likely are), allow each one to dry thoroughly. It can take between 4 and 6 hours for each coat to dry depending on how thick you’ve applied your limewash and how warm it is.
Weather
You shouldn’t apply limewash on really hot days or when rain is imminent. The excess heat will make it difficult for you to paint fast enough before the product dries out. Not to mention that if you apply the paint too thick, it will crack faster in high heat.
Also, because limewash is semi-permanent, the rain can wash some of it away if it hasn’t had time to fully soak into the brick.
Clean-Up
When it comes to clean-up, limewash won’t give you any headaches. You just need water. Another bonus is that any excess won’t contaminate your groundwater. This is definitely one of the most eco-friendly options on the market.
Longevity and Maintenance
Limewash naturally patinas with time. The sun, rain and snow all slowly fade the finish. In areas where there are more temperature extremes, you can expect it to fade more quickly. Most limewash exterior finishes require a refresh or touch-up between 5 and 7 years.
When it’s time to refresh your limewash, as long as it’s clean, you don’t usually need to do any other prep work. You can just paint over the existing limewash. This is a big advantage for you over regular latex paint which you may have to sand and scrape before repainting.
Is It Worth It To Hire a Professional?
This question is highly subjective and the answer really depends on you as a homeowner. The most common reasons that people hire a professional are:
- They want guaranteed results
- They have safety concerns when it comes to high and hard-to-reach places
- They don’t have the right tools
- They don’t know how to accurately calculate the amount of product they’ll need
- They don’t have the time, especially when weather is a factor
- They have a lack of painting and masonry experience
Though more expensive, hiring a professional will help you avoid pitfalls that can only be anticipated by someone who paints and works with all types of brick for a living.
What Could Go Wrong?
Aside from falling off a ladder, the most common complaints from DIYers are inconsistencies when it comes to the application of limewash on a brick house. Runs, drips, lap marks from spraying, roller marks and more are all REAL possibilities.
Also, not properly dampening the brick and applying limewash too thickly contributes to less than ideal results. Bricks vary in porosity and if you’re not a mason, it can be hard to know how much water is being absorbed by the brick. These mistakes lead to a waste of money and time for some homeowners.
We’d like to save you the headache. Call AX Masonry today to evaluate your brickwork and discuss all the possibilities for updating the look of your brick.
Final Thoughts For Limewashing Your Brick House
Limewash is a beautiful and timeless finish that is both eco-friendly and good for your brick. It will make your house stand out from the rest and increase its curb appeal.
While limewashing your brick house is often presented as an easy DIY project, keep in mind that bloggers don’t always disclose how much construction or painting experience they have. As a result, they can make a job like this appear easier than it really is.
For additional tips and different ways to use limewash read our article, “The Complete Guide to Limewash”. Or call us for a free consultation. We’re happy to discuss the condition of your brick house and all of your upgrade options.
Limewash Your Brick House FAQ’s
How Expensive Is It?
Limewash is not the cheapest. Premixed varieties can cost between $50-$80 per gallon (per the time of writing). Homemade limewash is definitely cheaper, the average cost of a 50lb bag is between $10-$20 (as of 2024).
Keep in mind that it’s more work to make your own and any pigmented additives can substantially add to the cost.
To speed things up you may want to rent a professional paint sprayer and power washer but, this will also add to your project budget.
How Long Does It Last?
Limewash is semi-permanent. It is affected by the elements. Most exterior limewash projects need to be refreshed or touched up between 5 and 7 years.
Do You Have To Wet the Brick First?
Yes, this step is crucial due to the porous nature of the brick. It will help the limewash to absorb properly and when done correctly, the application will be more even.
Which Is Better, Limewash or German smear?
That depends on whether you want a semi-permanent finish or a permanent one. A similar look can be achieved with both techniques which is why they are often confused. Limewash is like the glaze on a doughnut while german smear resembles thick cake icing.
German smear is permanent and requires little maintenance beyond a biannual power washing. Limewish does need to be retouched and cleaning can be more tedious.
Does Limewash Stain Easily?
Yes, limewash does stain easily. You shouldn’t scrub limewashed surfaces. If your home is prone to excess algae, mildew and mold then you may want to consider a sealer when you’re done.
Can You Get Stains Off of Limewash?
It is challenging to get stains out of limewash. Depending on the type of stain, you can usually just paint over it with more limewash.
However, some stains like nicotine (for indoor applications) and algae may require additional steps since these types of stains tend to bleed through the paint.
